
I am going to detail the backup recommendations to follow on a Windows 10. They are logical recommendations that can be followed in the same way on other operating systems like Ubuntu or CentOS with similar tools.
All I detail is what I do and I think it's generally enough, but we each have our needs
How to secure my work tool, i.e. my operating system and the data of all my projects?:
- Planned backup every 7 days of system image plus files
- Creating system recovery disk every update of the Windows operating system, if you do not follow this: creating system recovery disk every quarter
- Creating scheduled backups every hour of work file history
- Create a restore point against any changes that we make important: change in regedit, etc.
- Having duplicate backup targets
The first two actions are disaster. Specifically the first, the system image, is to be able to recover the operating system. And the second, that of the system recovery disk, is for the case in which we can neither start the Windows 10 operating system, and we need to boot our computer with a USB or DVD with a basic image of our operating system that will give us the option to recover the OS from the system image that we have created in the first action , and may also reinstall the operating system.
The third action, relating to file backup, is to have the option to recover a file version lost by deletion or corruption of the file.
Creating the restore point is in the face of a configuration change of the operating system so that you can return to the previous situation. Windows when you run an update before always creates a restore point.
All this we can manage with calendar alerts and automating in the operating system the planning of the realization of file backups as detailed below. The images in that detail correspond to a Windows 10 operating system in Spanish
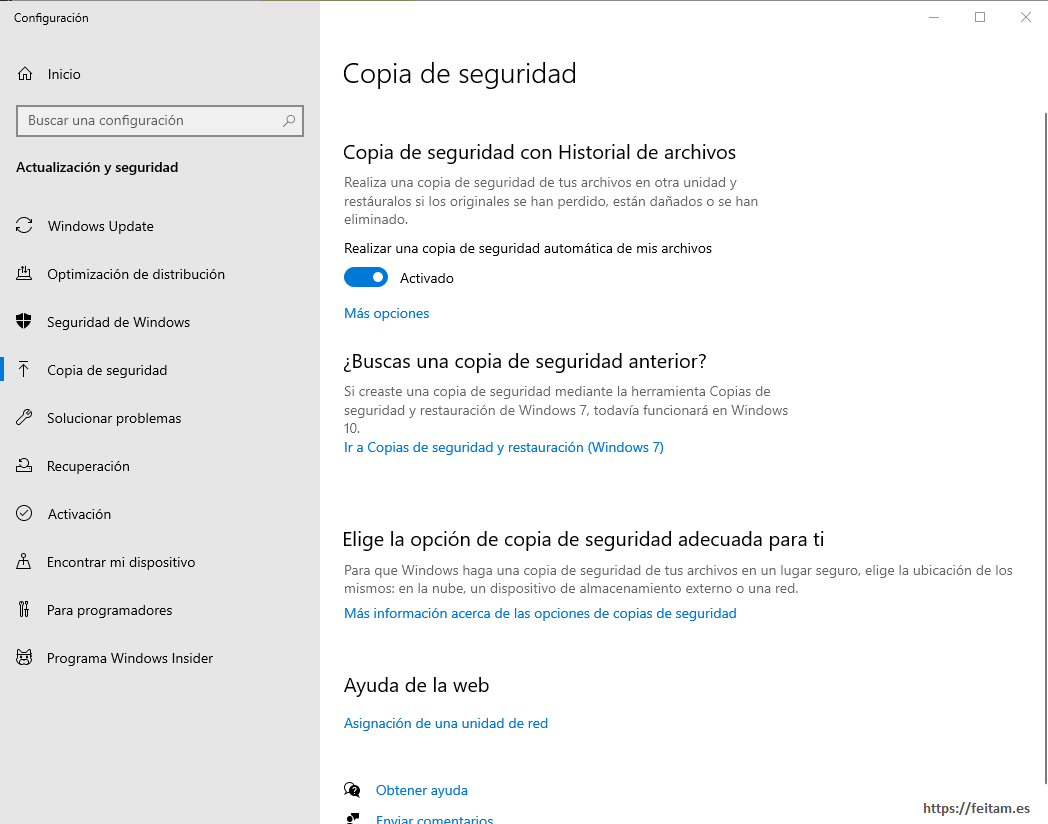
We configure the backup by accessing "backup" in English versions of the operating system or "copia de seguridad" in Spanish version:
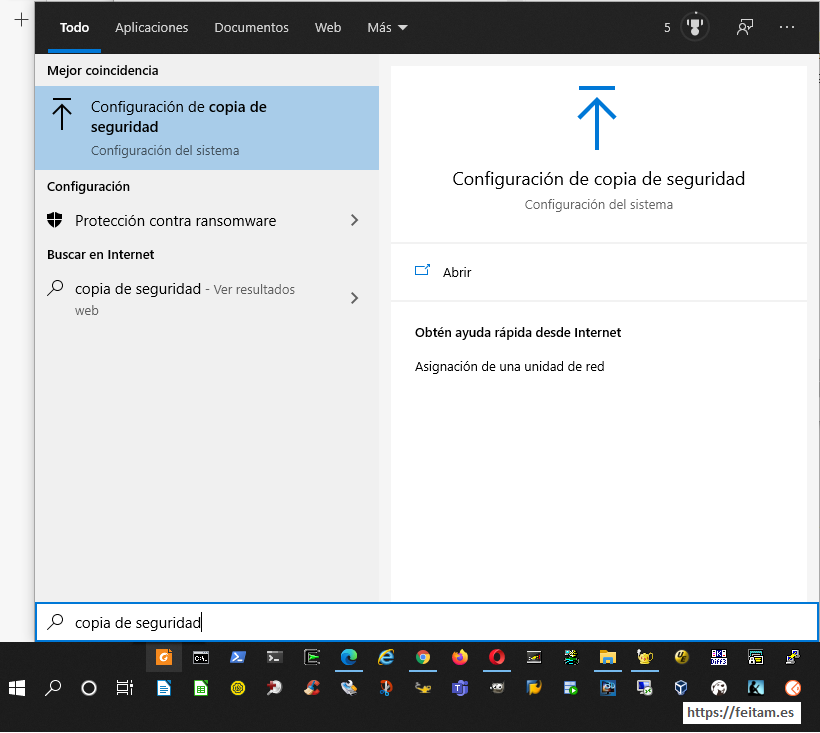
And we get the backup menu:
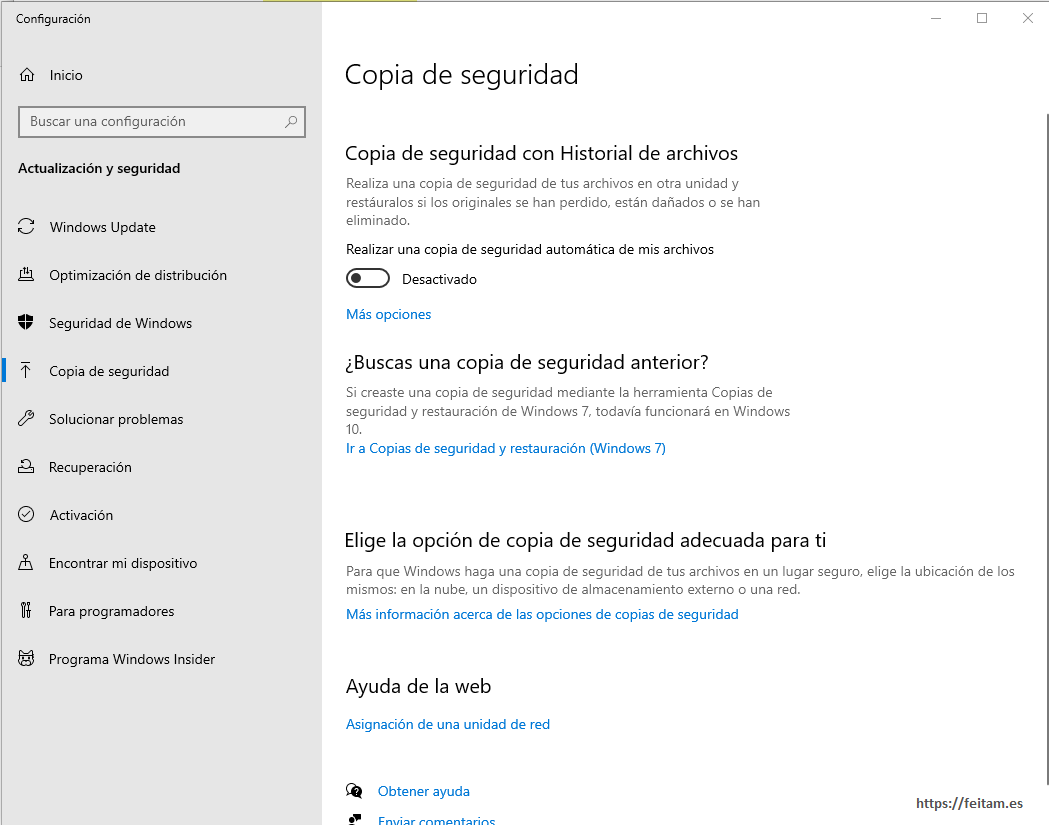
We access the top option of "Backup with File History" by pressing "More Options", it takes a while:
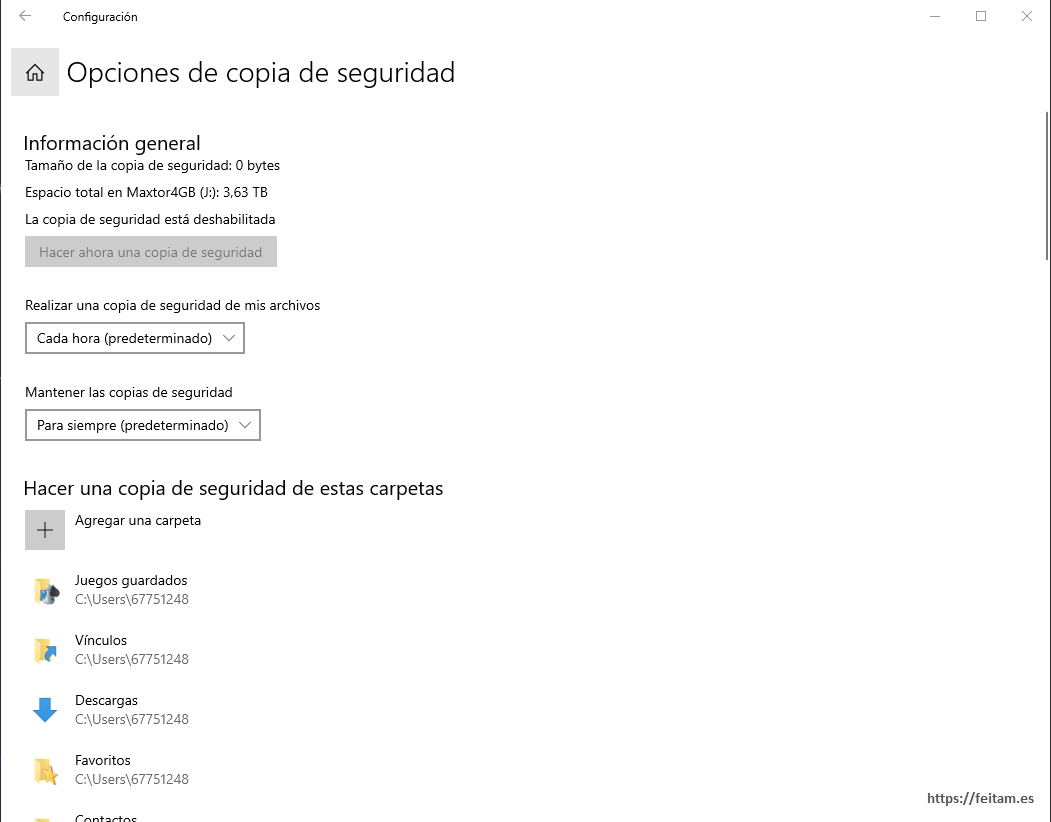
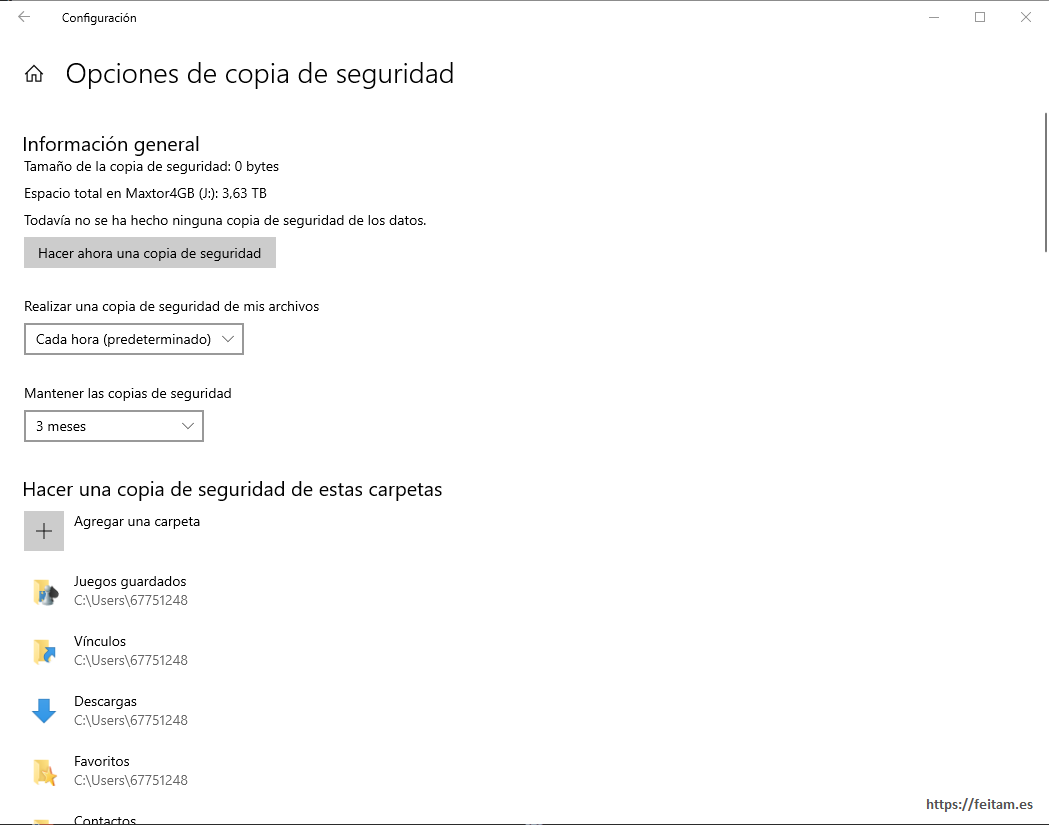
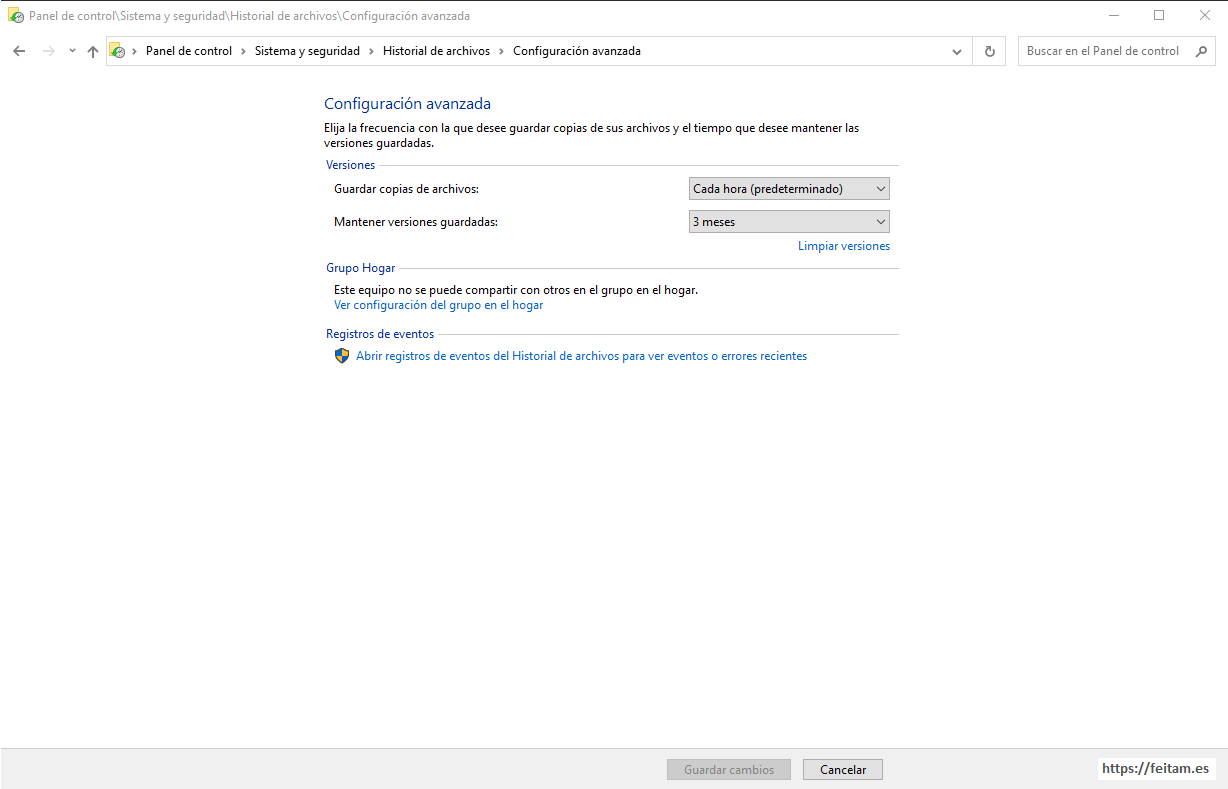
In this menu I change keep backups for three months, and in addition to leaving the user's folders that already appear added the folders of my projects:
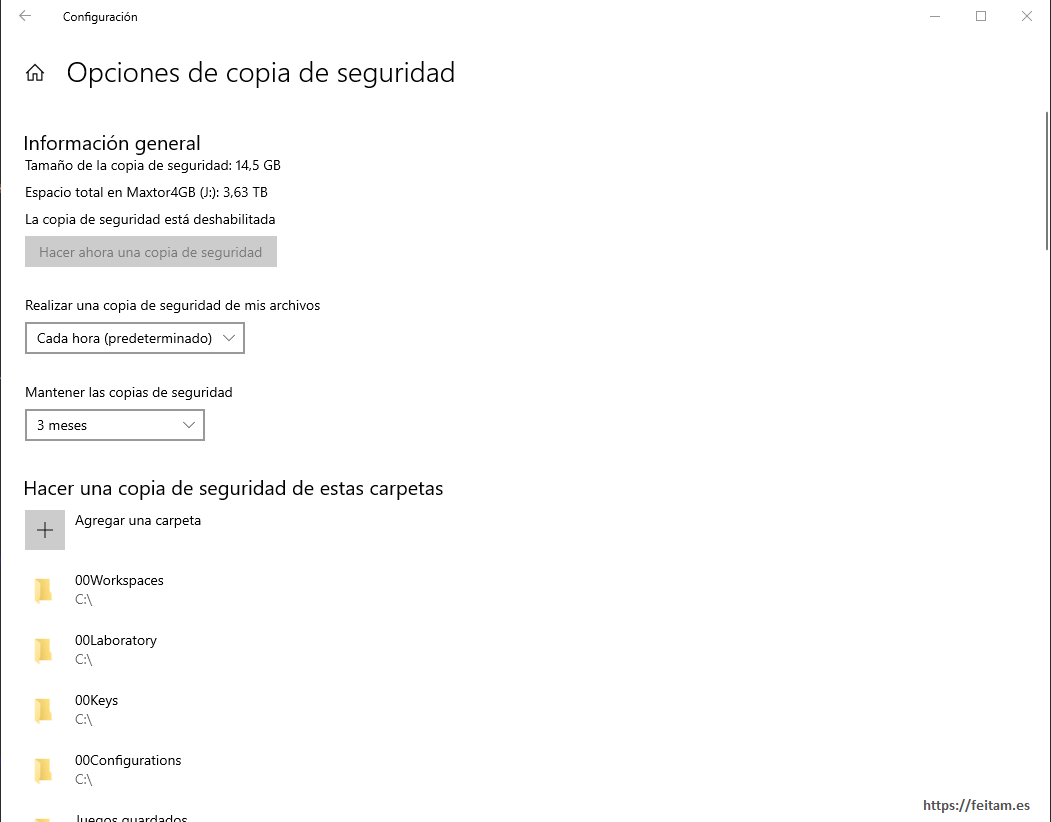
We note that it informs us at the top that the copy size is initially 14.5 GB.
We go back to the previous screen by pressing the "arrow" at the top left, and activate the backup with File History by moving the activation item to the left:
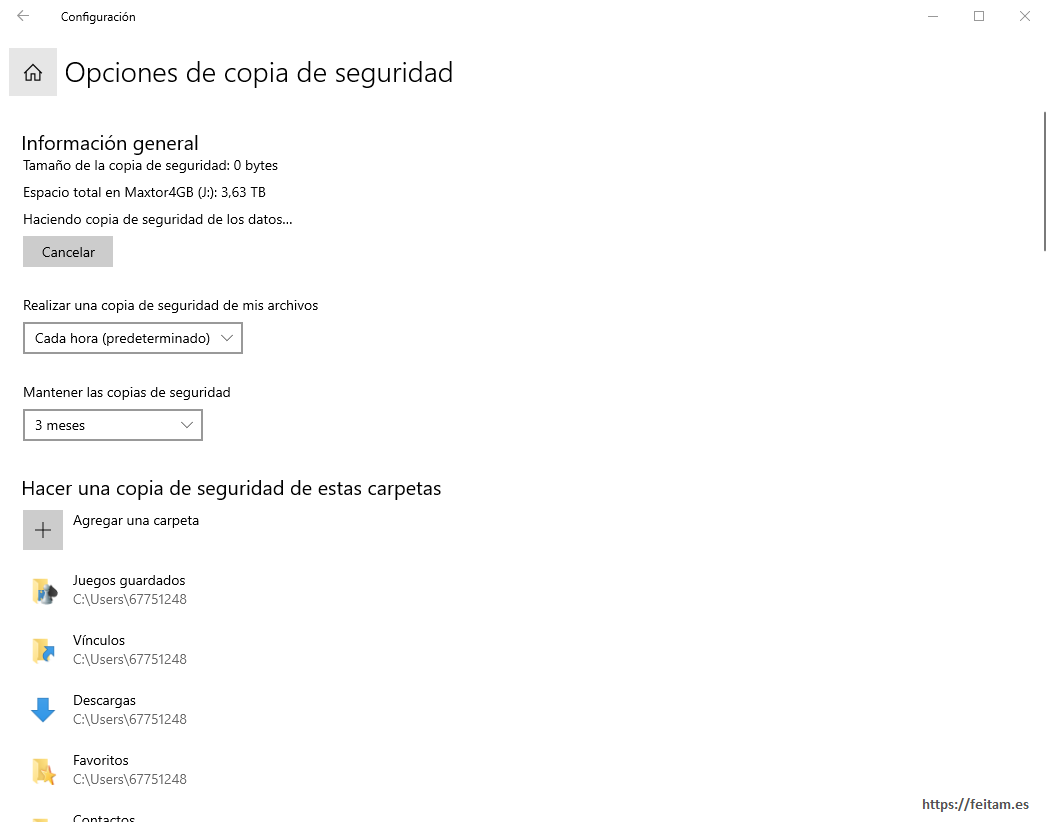
Click "More Options" again and press the "Back Up" ("Hacer ahora una copia de seguridad" in Spanish) button again:
And the message appears on the "Backing up data..." ("Haciendo copia de seguridad de los datos..." inSpanish) scree and the "Cancel" button:
This setting activates "File History" if disabled, because it is the same, that according to previous versions of Windows this was called "File History".
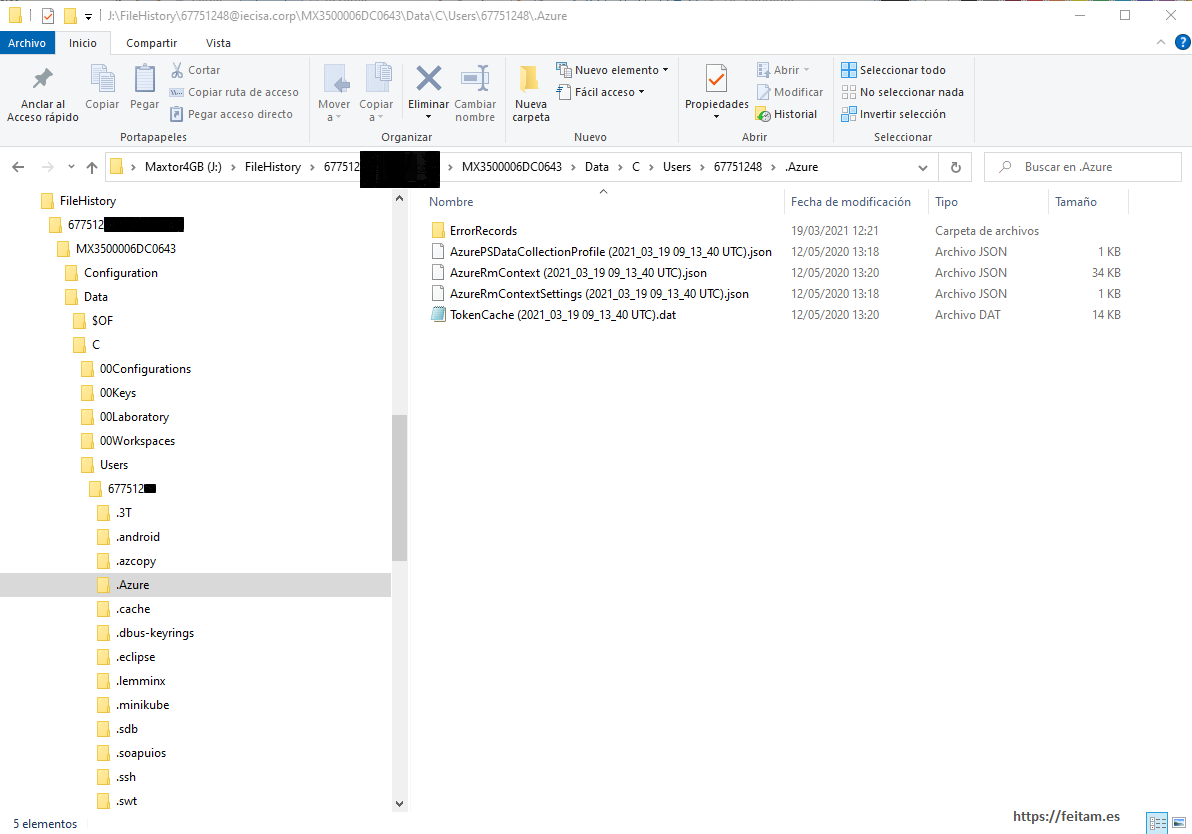
This copy, when activated, creates on the destination drive a folder "FileHistory", and within this other folder with the user's name, and within this one with the name of the computer with two subfolders: "Configuration" and "Data", and when the first backup and consecutive ones as specified (in this example every hour) information is added to the folder "Data" :
All this we have done can also be done from "Go to Backup & Restore (Windows 7)" which displays the following screen:
And on this screen access "File History" at the bottom left:
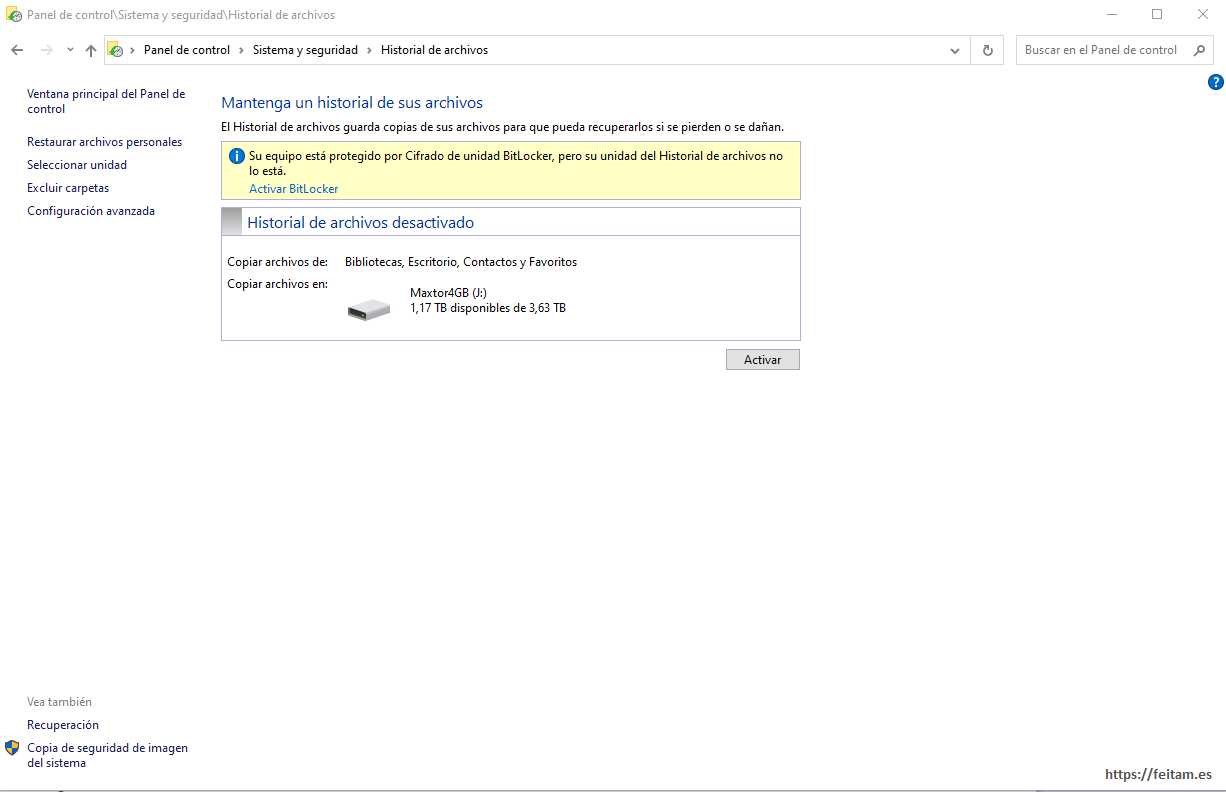
From this screen you can activate, select the target unit, plan. But you can't add specific folders other than the user's. And it also has a very interesting functionality of "Clean versions" of the copy by going to "Advanced Settings":
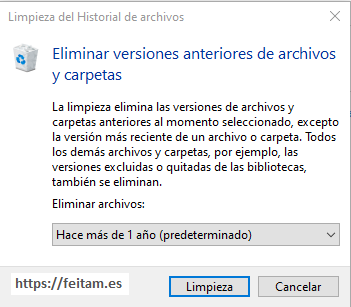
If you click "Clean versions" ("Limpiar versiones" in Spanihs) it shows us a list to delete all files except the latest version, more than a month, etc:
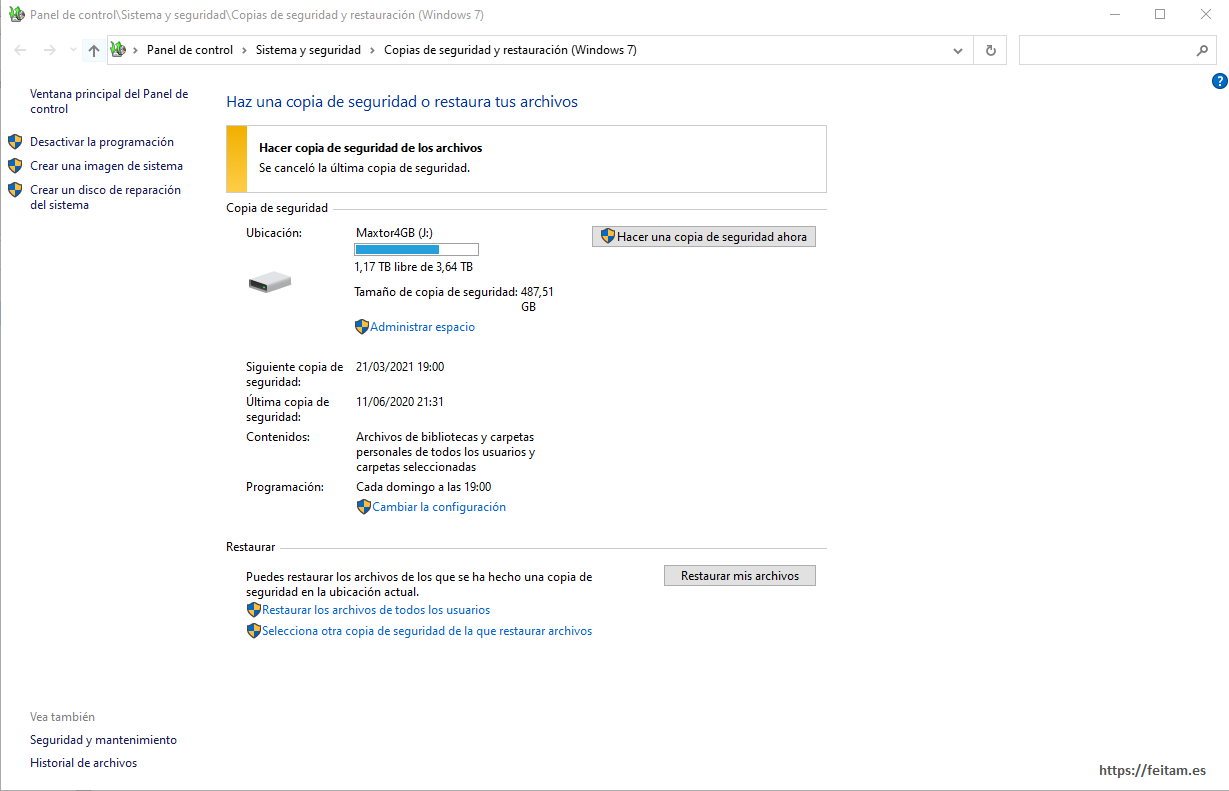
Once we have configured the copy of files important to us. We go on to configure the image copy of the operating system by accessing the option "Go to Backup and Restore (Windows 7)" from the screen of the backup menu through which we access the following screen
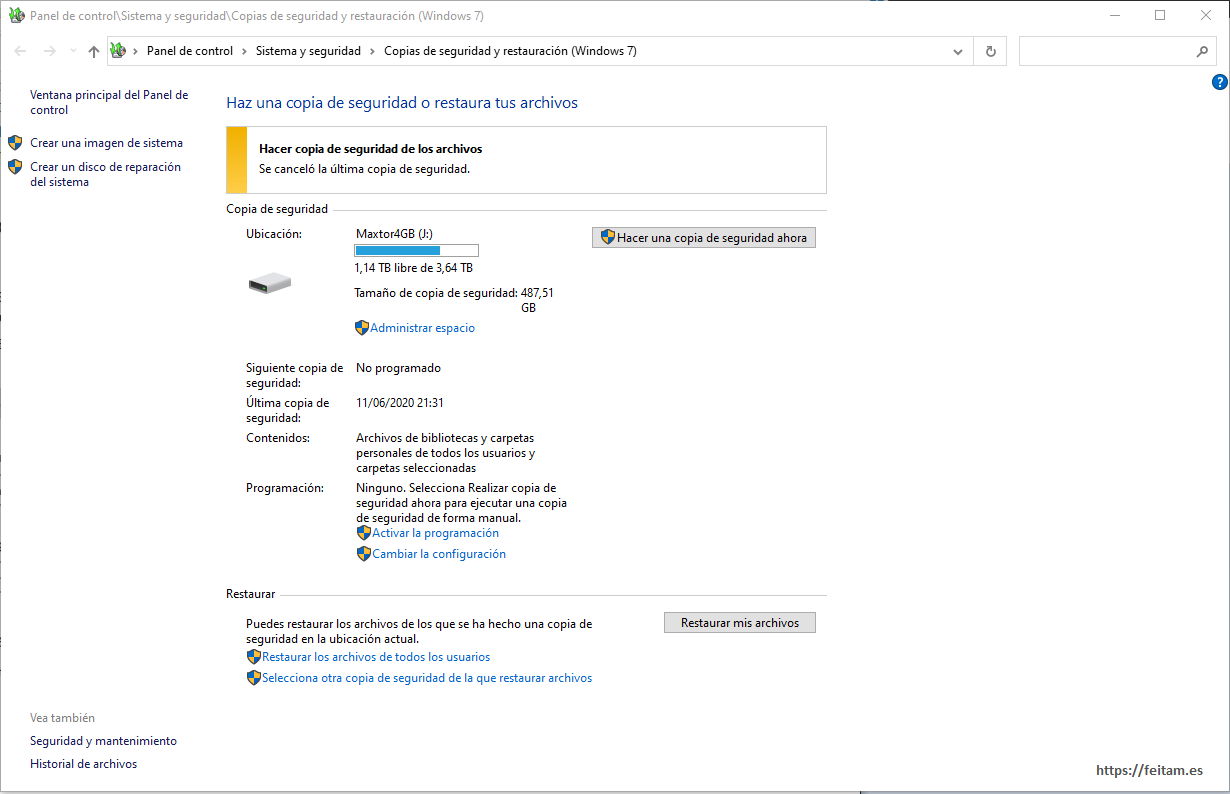
On the screen we have the option of "Back up now" ("Hacer una copia de seguridad ahora" in Spanish) via button, but we will press the link "Change settings" and then "Enable schedule" to leave it planned to make the backup for example every Sunday. When you press "Change settings" you see:
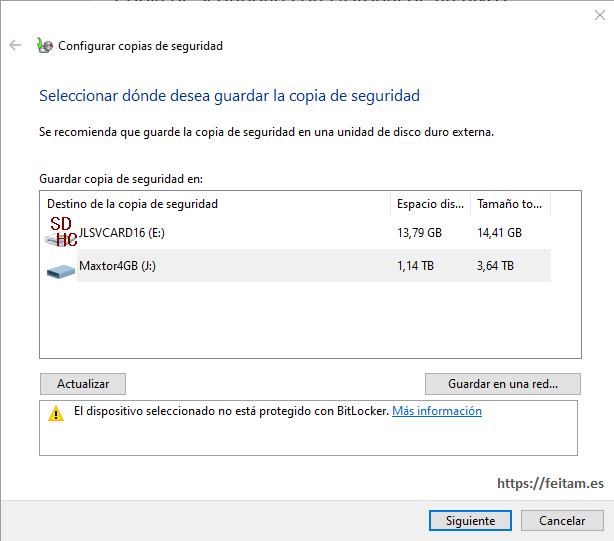
We specify the drive where we want to leave the copy of the system image, in that example in J, press "Next" button:
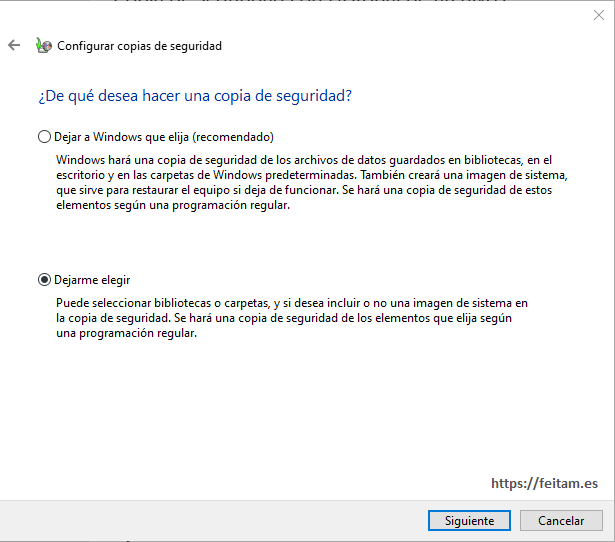
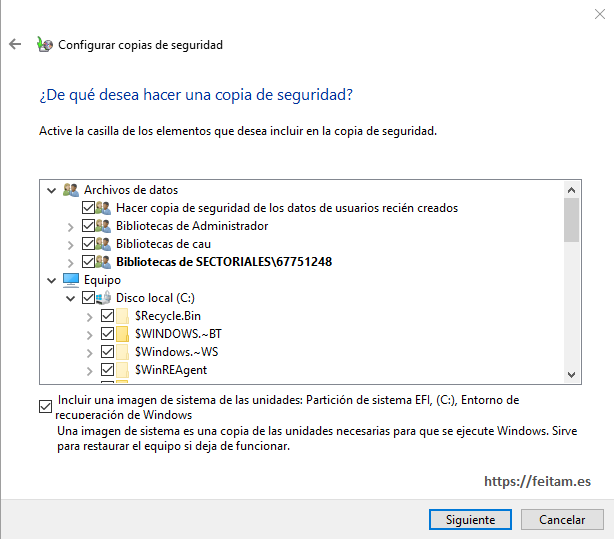
We select "Let me choose" ("Dejarme elegir" in Spanish) and press the "Next" button where we mark the folders to have a copy, being able to uncheck folders to have no backup (temporary, log folders, old Windows folders, etc.). I recommend checking all data files of all users and all existing disk drives by unchecking some uns needed folder (in my case 00Temp, 00Logs, etc.). And it is very important to always check include image of drive systems to make it an image copy of the system with data, not just a copy of the current files:
The "Next" ("Siguiente" in Spanish) button is pressed and shows us on a screen the summary of what the copy includes where in this example we can see that make an image copy of the system, we include the folders of all the existing users on the computer, we make a copy of drive C and I exclude three folders that I consider do not need to have backup. It also notifies us that it is advisable to make a system repair disk that we will see later how to create it:
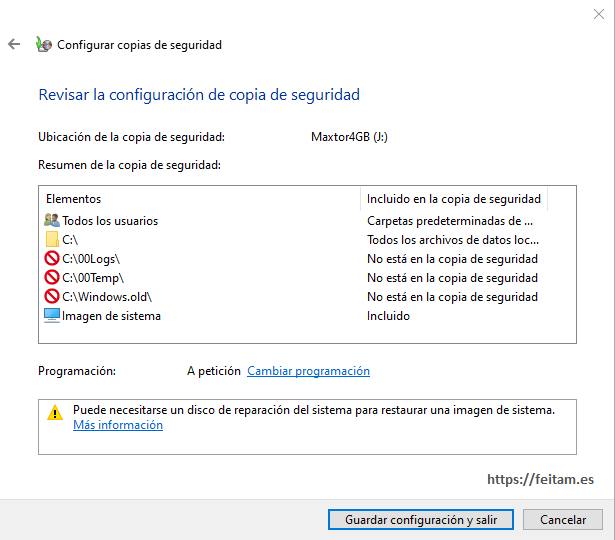
Before saving this configuration we click the link "Change schedule" ("Cambiar programación" in Spanish), and on the screen that appears we specify how often we want to make the backup, in my case on Fridays at 10 PM:
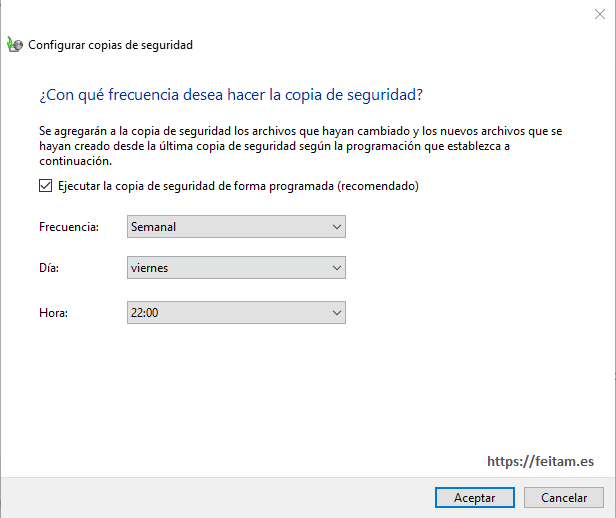
Press the "Save settings and exit" ("Guardar configuración y salir" in Spanish) button and it returns us to the screen:
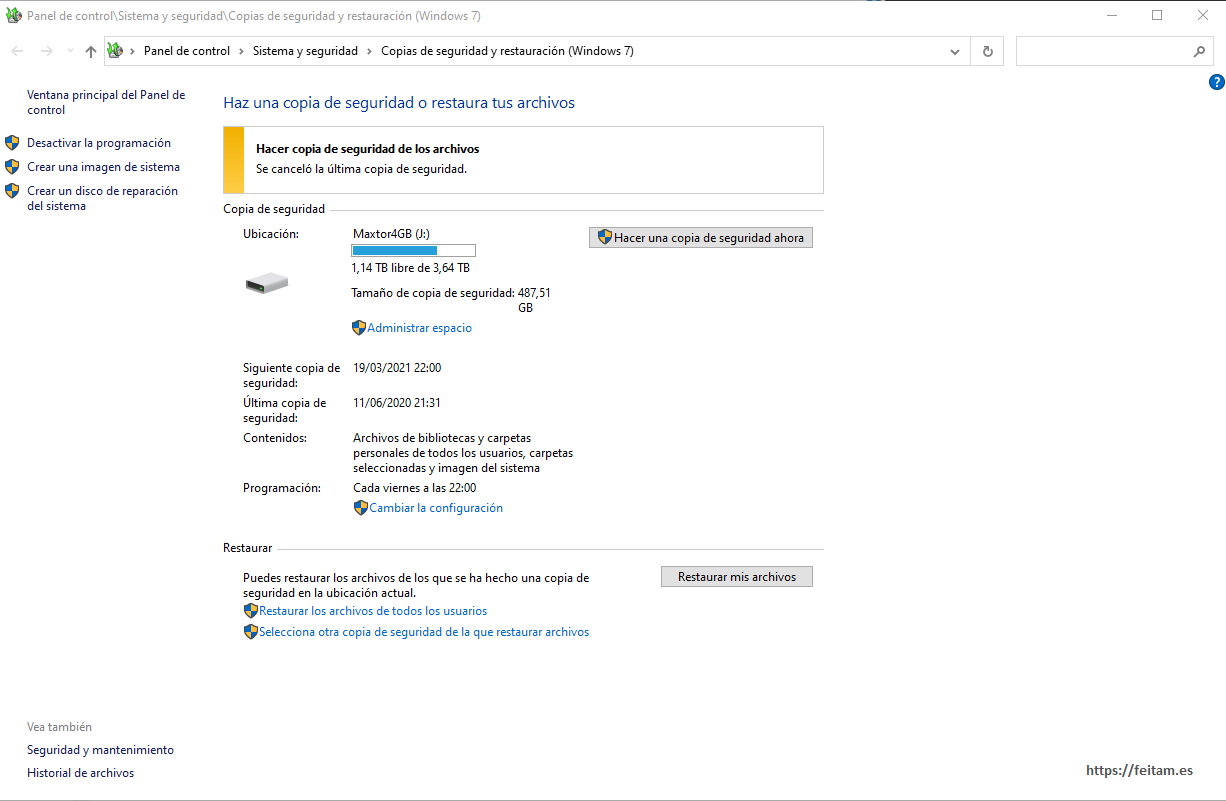
Where we can now make the first backup by pressing the "Back up now" ( "Hacer una copia de seguridad ahora" in Spanish) button so as not to wait until next Friday, we press and see the current copy:
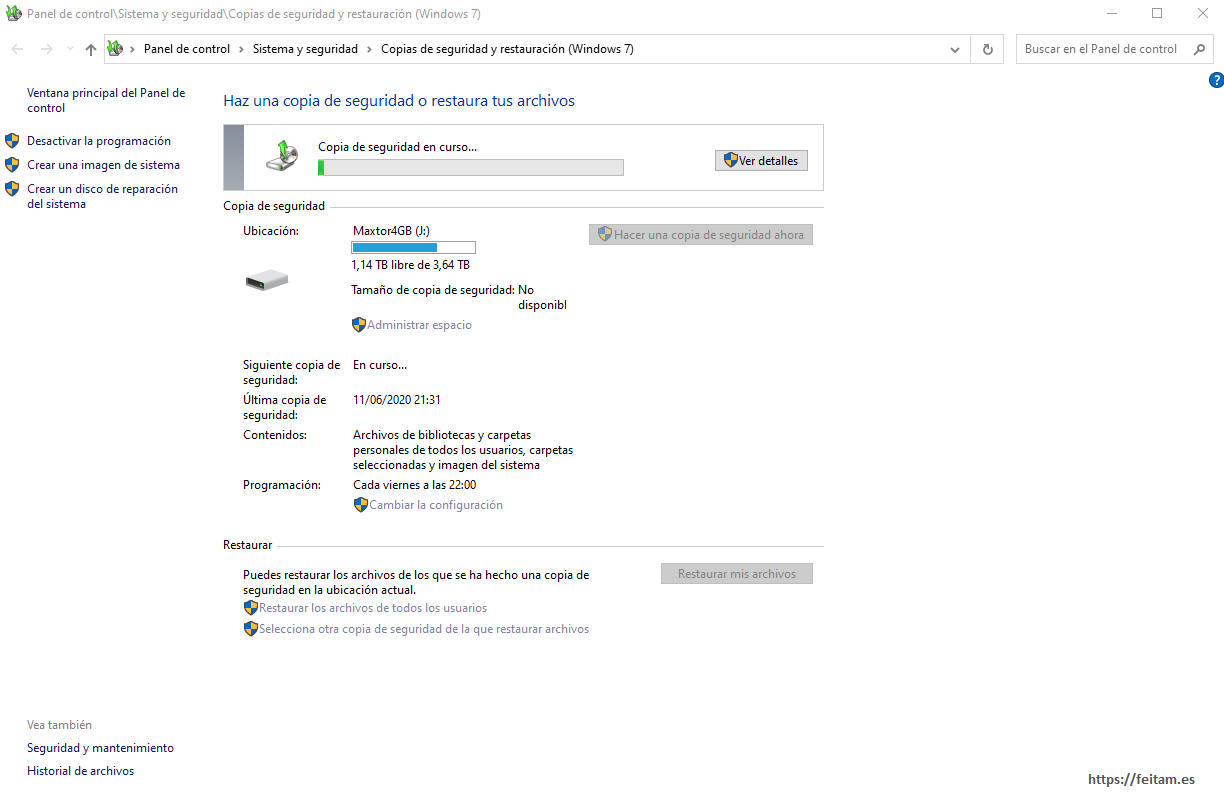
By clicking "View details" ("Ver detalles" in Spanish) you can see the evolution of the copy and there is the possibility to cancel it:

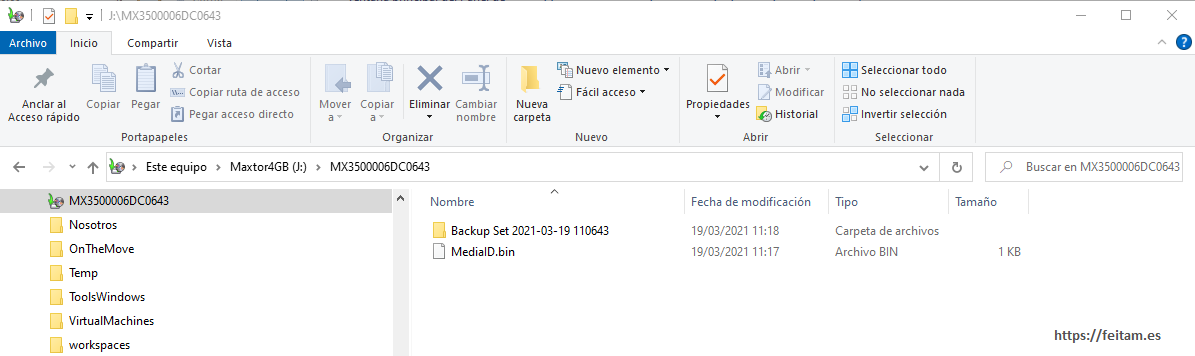
The system image backup with files is created on the destination drive in a folder with the computer name, and within it will appear as many folders "Backup Set YYYY-MM-DD nnnnnn" as copies run, in this case every Friday:

On the "Backup and Restore (Windows 7)" ("Copias de seguridad y restauración (Windows 7)" in Spanish) screen there is a link on the left called "Create a system image" ("Crear una imagen del sistema" in Spanish) this creates a system image, without giving you the option to copy files. It only gives you the option to select existing system partitions to make the image. In this case the backup is located within a folder "WindowsImageBackup" within the selected destination drive, locating within this folder a structure similar to the previously detailed copy:
Summary of locations by copy types:
- FileHistory: copying a user's file history
- Computer Name: Copy files from a computer with or without system image creation
- WindowsImageBackup: system image copy
The last action is to create a system repair disk that serves us when we lose the system that prevents us from starting it. For this we require having a bootable drive that can be a DVD or a USB drive with a bootable version of our Windows 10 that will allow us to boot the computer, recover from the screen "Backup and restore (Windows 7)" ("Copias de seguridad y restauración (Windows 7)" in Spanish), from the system image that we have more files on the destination drive of the copy, and giving the option to reinstall the version of windows.
If you have a re-recorder DVD drive you can create this system repair disc with the "Create a System Repair Disk" ("Crear un disco de reparación del sistema" in Spanish) option on the "Backup and Restore (Windows 7)" screen by following the steps. An example screenshot:

Creating the system repair disc on a USB drive requires an 8 GB USB drive and will be fully used to create the reprete disk so you cannot have data as it will be lost.
You must first download the Microsoft Media Creation Tool software from the web page:
https://www.microsoft.com/es-es/software-download/windows10And run it by double-clicking. If you have an old version the program itself will detect it when booting and request access to that page to download the new version. Windows 10 operating system upgrades may require new versions of this tool. On my operating system requires the MediaCreationTool20H2 version.exe:

We double click making sure we have the destination USB drive connected:
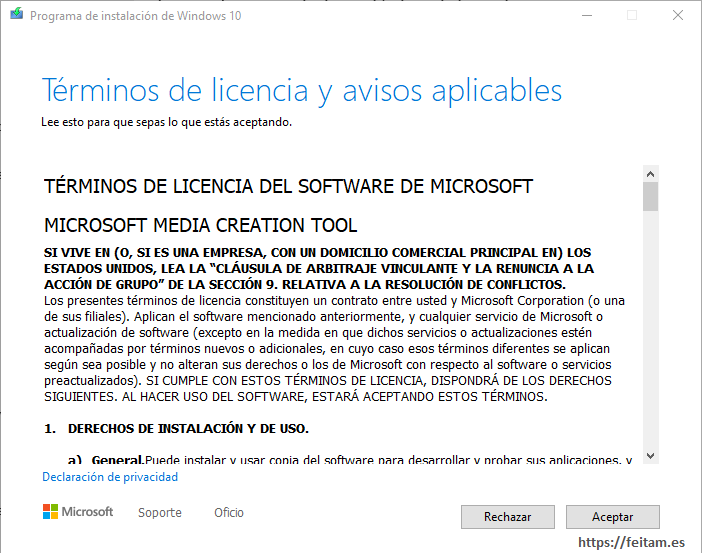
Then the license we read to each other appears and we accept:
Re-making some preparations as before by showing at the end the next page where we selected the second option:
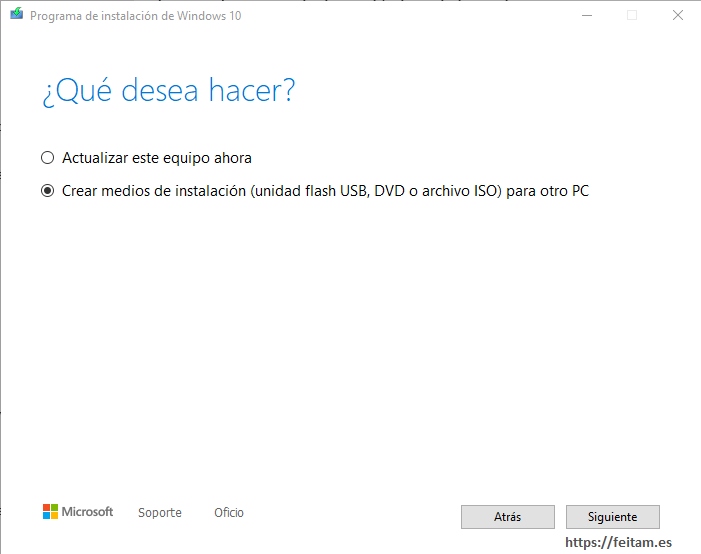
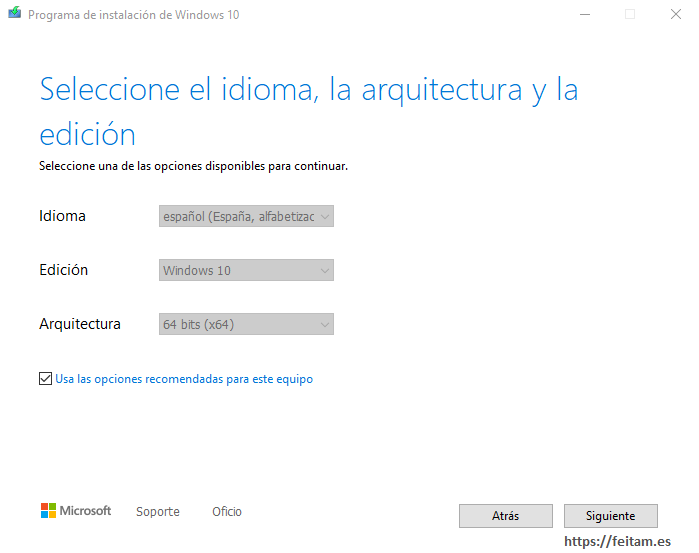
When you press the "Next" button, you'll see a screen with options that I wouldn't change unless something doesn't square for us:
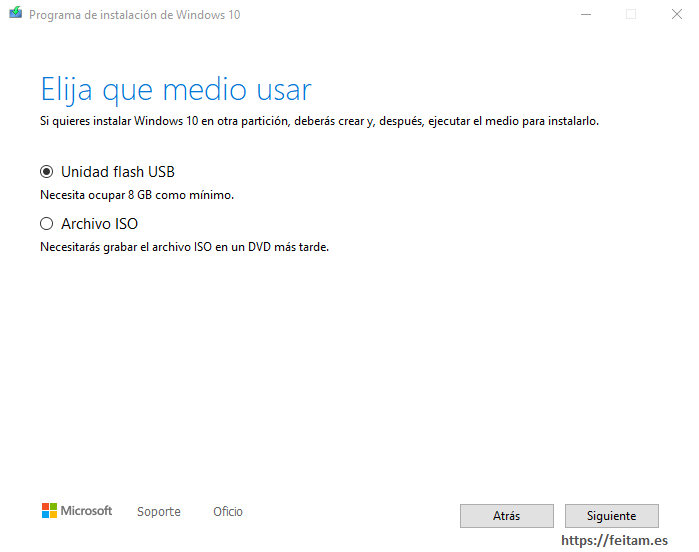
Press the "Next" ("Siguiente" in Spanish) button and the screen appears where we specify the type of target media with the two USB flash options or ISO file:
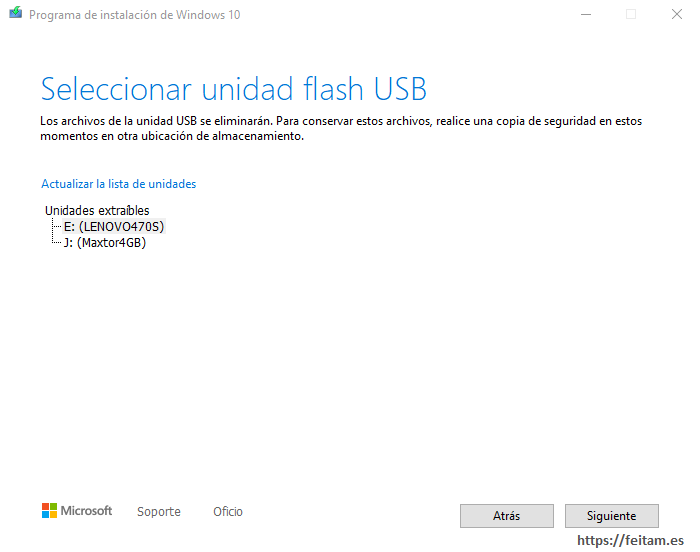
Click "Next" where the available USB drives list us, and select the one we want as the destination:
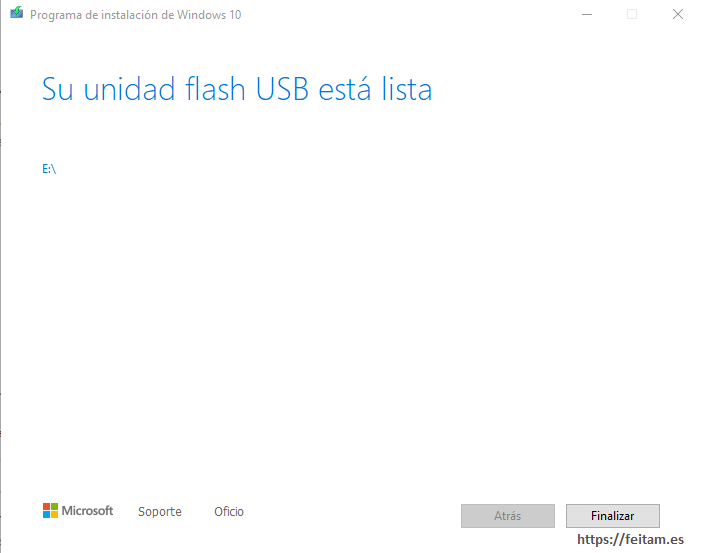
And we start the recording process by pressing the "Next" button:
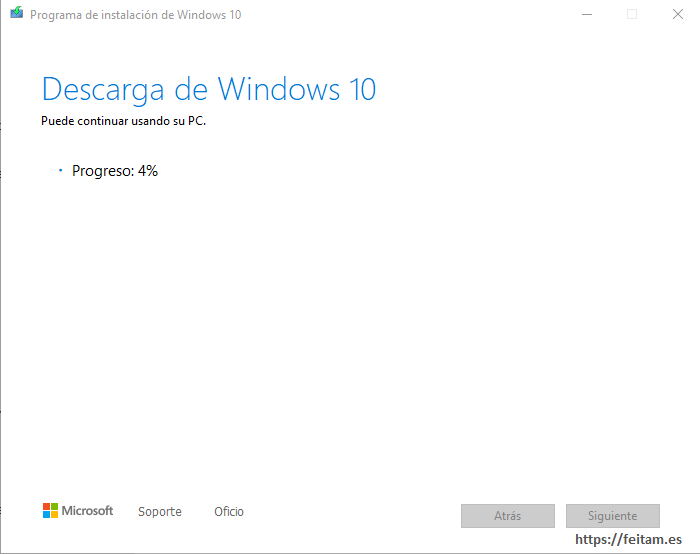
Once the process is complete we extract this USB flash drive and save it so as not to use it... hopefully never. If there is an upgrade of the operating system you should create a new recording on the same USB flash drive, or do it every three months according to the needs of each one.
One more thing: never forget about any major changes to regedit, permissions or similar create a restore point through the "System Properties" screen in its "System Protection" tab accessible in several ways we all know:
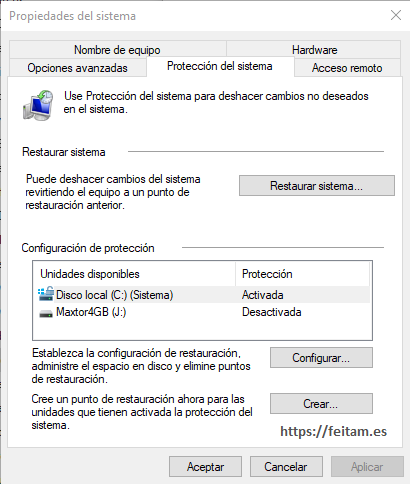
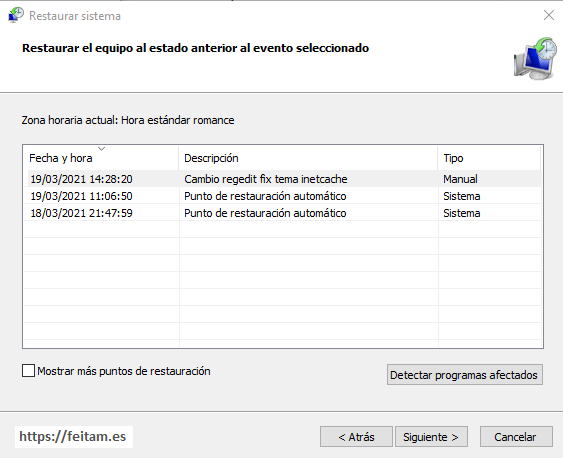
The restore point is created through the "Create" ("Crear" in Spanish) button where the restore point will be prompted for a name so that it can be easily identified. I recommend accessing "Configure" to see the options and leave it according to our consideration assigning an appropriate space. To reverse a change is done through "System Restore" which will display a list of restore points to select the appropriate one and return to that configuration:
By following these steps planning the backup of file history every hour and planning the system image backup plus files each week, and with a flash drive to have a system repair disk that we can perform every three months with the corresponding alert in our calendar we can have a good comprehensive backup system. However, we need a copy destination drive with enough storage and an 8GB USB flash drive... and an agenda with alerts that warns us to make the copy of the recovery unit from time to time.
And for the 10 it is convenient to make a copy of the destination drive and USB flash drive from time to time on other drives located in different places... and serve us in case of theft, loss, etc.